Your cart is currently empty!
The Doggy Motel
March 23, 2019
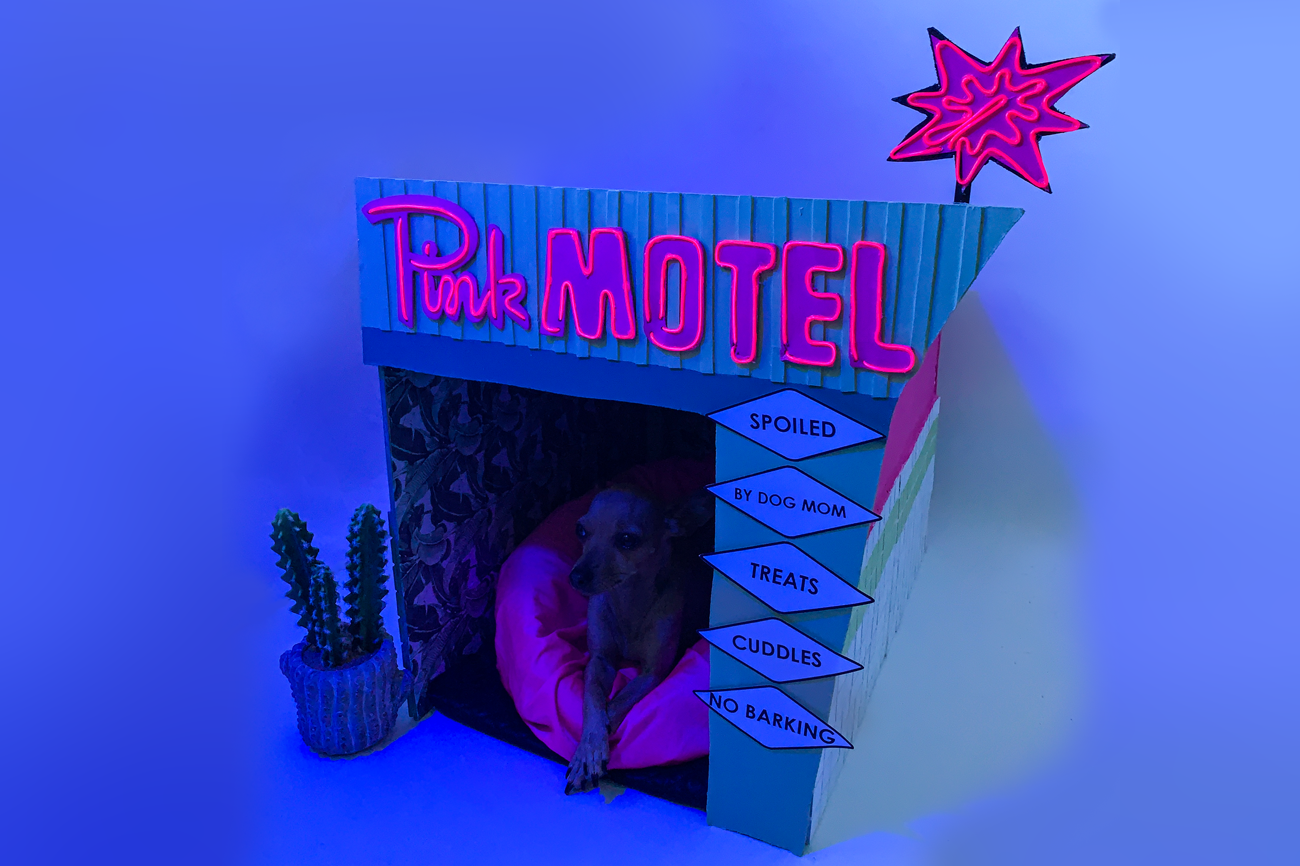
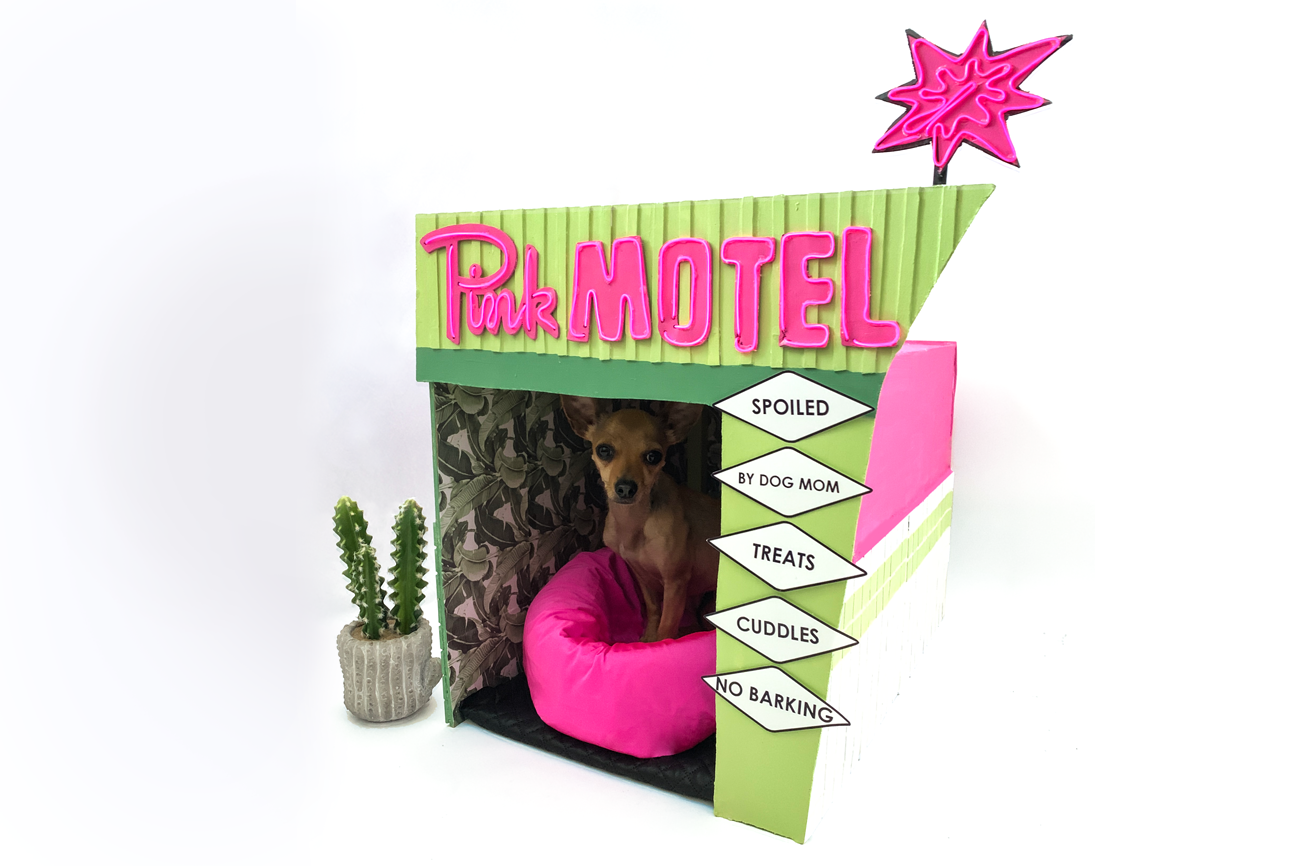
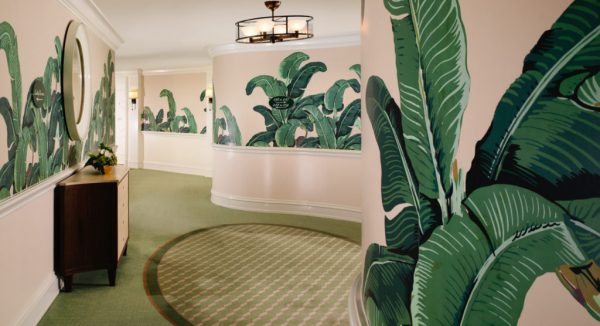
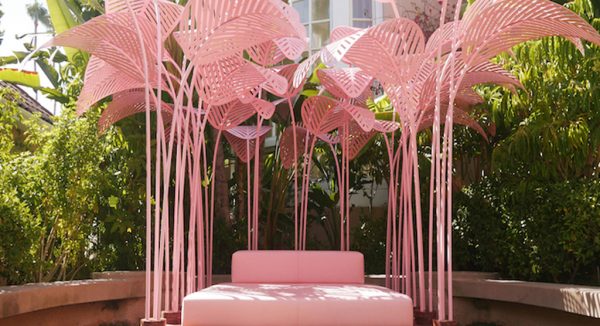
So I think now I can officially call myself a crazy dog mom. She’s spoiled and I thoroughly enjoy doing it! I spent about 4 to 5 days making this unique doggy motel, mostly because of the time it took for things to dry. I drew inspiration from The Pink Motel (for the sign and outside) and the Beverly Hills Hotel for the inside. I absolutely adore their banana leaf wallpaper and their pops of pink everywhere. I learned a lot during the process of making this and there are definitely some things I would do differently next time. If you want to take a go at making your own doggy motel, I only hope my design is a reference point and you put your own personal spin on it. Here’s a list of every single tool and product I used along with the project cost to complete a doggy motel.
Inspiration:


Amazon Materials List:
Foam Roll
2 EL WIRE 9ft (neon lights)
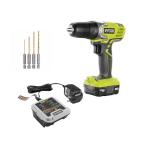
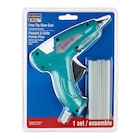
Cricut Maker (optional)
Printer (optional)
Shop Items Here: https://www.amazon.com/shop/missodessa?listId=3KVRXXJ7AZ8TD
(As an Amazon Associate I earn from qualifying purchases)
Home Depot Materials List:


Shop Items Here: https://secure2.homedepot.com/list/view/details/shared/785c1df0-26c0-11e9-bbce-e5f77759a0f5/ODESSA%20BUGGS
Home Depot Tools List:

Shop Items Here: https://secure2.homedepot.com/list/view/details/shared/803fcfc0-26c1-11e9-9ed6-1fadb3e93512/ODESSA%20BUGGS
Michael’s Materials List:

(Items are clickable)
Basic instructions:
These instructions are based off the dimensions I used to make my dog house if your dog is larger you will need to fit the project to your dimensions. Please keep in mind this doghouse is meant to keep in doors. Most of the products used on the outside of the house will not be water resistant or hold up in extreme weather conditions.
PREP WORK: Cutting your pieces & painting tiles
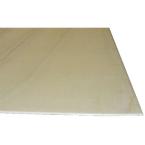
1. you will need to take one 2x4ft underlayment boards and have home depot cut it into three pieces. Each piece will now be 16×24 inches. Then cut ONE 16.5x16in square off of the other 2x4ft board. Home depot usually wont charge you for a few cuts but it really depends on the persons mood. If you have a track saw or a circular saw you can skip this and do it yourself.
You should now have
Three 16x24in pieces of wood for the top and sides of the dog house
One 16.5x16in piece for the back
The rest left over for the front sign.
2. Cut two of your 1x1x36in Pine Dowels down to 24in to match the length of the top edge if of the side boards for the house. These will give the house some structure and something to nail the boards together to make it sturdy. This wood is fairly thin. You will need two 15in dowels for the back sides and one 14in dowel for the top back side. The dowel piece for the top back of the house will end up being too short. You can cut some off one of the smaller left over pieces to make longer.
You should now have
Two 24in dowel pieces
Two 15in dowel pieces
One 12in dowel piece
One 2inch dowel piece
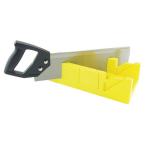
3. For the front piece you will need a jig saw to cut it into your desired shape. Mine was 21 inches wide from left edge to right angled corner and 21 inches tall and the hole for the door was about 12.5 inches wide.
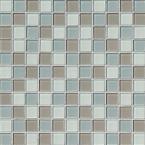
4. Now for the tile prep. Wipe your tiles down removing any dirt and oil. Mask off the area you want to have a color stripe and then spray paint the others with white enamel spray paint (or whatever desired color) let these dry to touch. DO NOT CLEAR COAT YOUR WHITE TILES!!!!
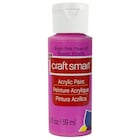
5. Take your Craft Smart acrylic paint and paint the tiles your desired color with a paint brush. Paint thin layers then blast them with a heat gun from a distance so they dont bubble up and burn. Once its dry apple another layer until your paint is solid and the original tile cannot be seen.
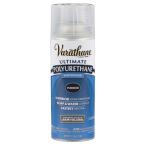
6. Mask off the white tiles and clear coat you colored acrylic tiles with the Varathane clear coat. This is important if you get the Varathane on the white tiles it will cause a bad paint reaction and make the tiles bubble up. So make sure to mask the white tiles while spray painting the colored ones with the other spray paint. Let these dry over night.
PIECING TOGETHER HOUSE: Nail & glue
1. Take two of the 16x24in boards, draw a line the same thickness as the board from one end to the other. Glue the corresponding sized dowels under the line. This will form a lip for the top board to sit in so all the edges are flush.
2. That the corresponding sized dowels for the back end of the house and glue them to the very edge. Your dowels should form an L shape, make sure they are on the correct sides. Press ALL the dowels into the glue firmly, you can wipe off any excess glue with a wet rag. Then let the glue sit for 20 minutes. After 20 minutes place something weighted onto the dowel for another 10 minutes. Make sure they do not slide. if you have dried glue showing use an exacto knife to remove it.
3. Now from the opposite side the dowel is on, drive 5 evenly spaced brad nails into in the the top edge and 5 nails for the back side. Do this for both side pieces.
4. Place the board for the top piece on the floor and flip the side boards upside down. The edge with the dowels should now be resting on the top board on the floor. You may have to prop these up against something. Line them up until the top board is inside the lip area.
5. Take the remaining dowel and glue it to the back side top board (dont forget to cut an extra piece of dowel to fill the missing space) make sure it fits in between the two dowels for the side pieces. You will follow the same gluing instructions.
6. Take the pieces apart, grab the top piece and drive in 4 evenly spaced brad nails into the dowel from opposite side of the board.
7. Now piece all 3 pieces right side up this time.(you may need to prop them once again) Nail 5 evenly spaced brad nails from the TOP on both sides
8. Flip your three nailed together pieces what will be the face or opening of the house is touching the ground. The dowels should be facing up on the backend. Then take your back 16.5x16in board and nail it on the top and side edges (5 brad nails on each side & 4 on the top edge). You are driving those nails into the dowels to hold your back piece on.
(the front piece comes later)
Outer Decor: Tile & grout
Tiling is completely optional you can stick to painting this look on instead and skip this all together.
1. draw a line on the sides and back that goes up 12 inches from the bottom edge (this is to keep track of how far up the tiles will go)
2. Get your grout and follow the mixing instructions. work on one side at a time. Spread it across, wipe off excess with trowel & lay your tiles. Make sure to press them into the grout. If you need help with this check out this youtube video.
3. Wait 24hours before you can grout the tiles.
4. Once you’re ready to grout, I like to put the grout into a ziplock baggy and cut a hole in the end. I work in square sections, 4 rows of tile across and down. Squeeze the grout into the groves and wipe it out. This is a process and took me almost 2hrs.
5. let this dry for another 24 hours
PAINTING YOUR HOUSE: More acrylic paint
1. I used a household dish sponge to apply my paint quicker. Squirt some paint on the top and quickly wipe it in one direction. Blast with heat gun in between layers to dry faster and repeat until covered.
2. When doing the sides squirt the paint on the sponge, make sure its not too much and it doesn’t drip on the tiles or where you dont want it to. Blast with heat gun in between layers to dry faster and repeat until covered.
INTERIOR: Decorate with wallpaper & paint
1. Paint the inside roof and dowels with the acrylic paint color of your choice. Allow to dry.
2. Print out your desired wallpaper design, you will need around 13 sheets of your design printed on 8.5×11 inch paper.
You can alternatively use fabric or gift wrap paper or anything else of your choice.
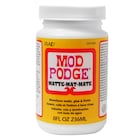
3. Working with 1 sheet of paper at a time, take your Mod Podge and apply a thin layer down. Align your paper and press it down into the glue, smoothing out any air bubbles. Move on and do each section.
4. Allow to completely dry. If you are worried about the wear of the paper you can additionally spray coat it with the Varathane clear spray.
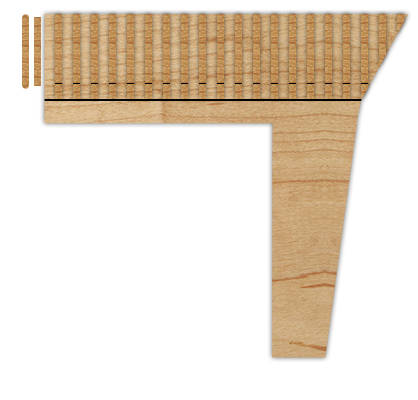
THE FRONT PIECE: Painting the sign
1. Assuming you have already cut the front piece into it’s shape. You can now apply popsicle sticks to create spaced ridges. You can draw a line in where your sticks should end.
2. Cut the rounded edges off the end of each popsicle stick
3. Place wood glue on the back of each stick and place it on the front board spacing them evenly. The sticks will likely not be long enough so you will need to cut other popsicle sticks into pieces that fill in the gap so they are long enough.
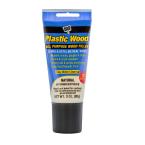
4. Spread some wood filler over the cracks of the popsicle sticks to fill them in so they are less visible.
5. Paint the front piece your desired colors and let it dry.
THE NEON SIGN: Cutting the letters & adding neon light
Optional* If you have a cricut machine you can cut your letters out onto your foam quickly if you need to do it by hand see the steps below.
1. Print out or draw two SETS of the letters exactly as they would appear on the sign and cut one set of letters out
2. Trace the letters onto the foam, then cut them out
3. Paint the letters with your acrylic paint you will need a few coats because the foam can absorb some of the paint.
4. Hotglue the letters to the front board.
5. Taking the other set of letters you printed or drew. Practice weaving your neon wire in and out by drawing where you would like your entrance and exit holes to be. If each letter is separate they need to have entrance and exit holes. Each letter in a cursive word does not.
6. Use your drill to put holes through your letters and the board so you can weave the neon wire through.
7. To weave your neon wire start from one end pulling the wire all the way thru until the black cord of the battery box is almost to the hole. As you weave the neon wire through, hot glue it down into place until you are to the other end. Check this youtube video if you need help.
THE NEON SIGN: Hanging the sign
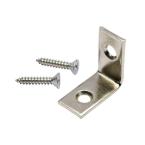
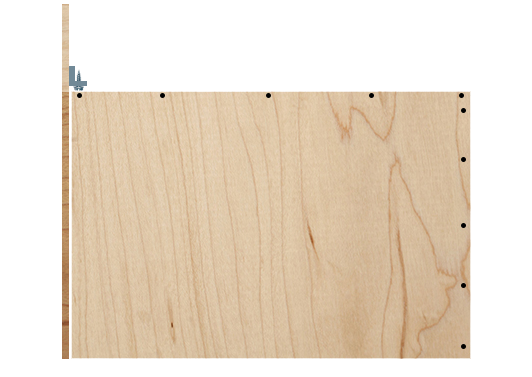
1. Take a screw from the pack of brackets set and hot glue the head of the screw to the front of the dog house, in the middle. Let the glue fully harden.
2. Place a bracket on the screw with the flat side facing out. Then take your front board and line it up with the dog house. Once it’s lined up glue the bracket to the front board. This connects the board to the dog house and allows you to remove it at any time.
EXTRA STEP: Diamond signs
1. I printed out my diamond signs on photo glossy paper
2. Cut them out and hotglued them to the front sign.
No Comments